Creating Stencils at home (DIY)
One of the best properties of stencils is the fact that you are able to see through them. This way you can place them EXACTLY where you need them on your image. I find that if you don't feel like spending money on lots of stencils, you can make them yourself with a variety of materials.
One of which I am talking about today.
Clear Acetate or a Clear Dura-lar sheet. You can also use clear plastic sheet protector.
The only problem with sheet protectors is that they are much thinner and are pretty flimsy.
So I used Clear Acetate sheet, which I picked up from my local art supply store.
If you are in Canada, here's the link for the CLEAR ACETATE SHEET.
Acetate sheets are very affordable and easy to cut. Of course, you can stick with your basic shapes, like circles, squares, triangles, etc. Practically within minutes you will have a very usable stencil which you can use right away. All you need is a pair of scissors with very sharp ends and VOILA!
Just make a shape you like and start cutting. Since acetate is clear, it is much easier to see when the design is outlined with a permanent marker like sharpie.
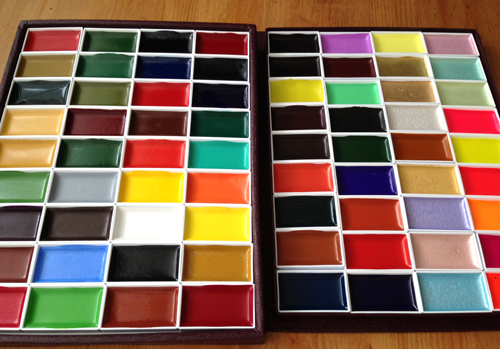
This is the look of the acetate when it has been used with multiple acrylic paints.
Here, to make triangles, I decided to make a frame first, so I could see how far to the edge I will be able to cut my shapes.
This is the actual journal page I made, using my home made acetate circle stencil. I absolutely love it and use it lots. So, go ahead, have fun!

Comments
Post a Comment